Class 7 - Debugging, Working with Tiles and the Camera
Play homework
Blake Andrews’s games
Suggested:
Topics
- Formatting your code
- Building a map with sprites
- Working with the camera
- Tile flags
- Debugging strategies
- Next week: guest game designer Blake Andrews
Description
In this week we cover creating a map out of a series of drawn sprites and then how to draw that map to the screen. We also use the camera, aiming it at the player, so that we can create maps that are bigger than just a single screen, and that the player can navigate through.Finally, we learn how to get information about the tiles on the map, and use it to detect collision. We also cover various debugging strategies when creating a complex program.
Class notes
Formatting Your Code
Make your code easier to read. You can alter some parts of the coding environment.
config
Let’s alter the default spacing of tabs.
config tab_width 2
Alternatively, set it to 3 or 4.
Setting a reasonable tab_width will make it easier to scan our code when we are browsing it and looking for particularly important (or ignoring less important) sections as we work on our code. If we are taking a high level view of the overall functionality of our code, we look on the function names, which will be toward the left and in one color. If we need to zoom in on the code of a particular function, we will look to the right side where that code is inside the function.
config draw_tabs on
This will turn on the (previously) invisible tab characters, which helps us visually scan and organize our code.
Working with the Camera
I’ve created two sprites: a player sprite and a wall sprite. Then I opened the map editor to draw a level with the wall sprite. My level goes beyond just the single 128 by 128 pixel square. By using the hand drag tool I can draw much farther. To be able to see this part of the level, I’ll need to be able to position the camera at different locations.
One common way to do this is to have the camera follow the player character as it moves around, keeping the player always in the center of the screen as it moves around the level.
We set up our game loop like any other game.
function _init()
	p={x=64,y=64}
end

function _update()
	move_player()
end
In our _draw() function is where we both draw the map and use the camera() function to follow the player.
The camera() function takes two arguments, a -x and -y to offset the drawing screen. In other words, the camera will move to the x,y location stated. Since our player starts in the center of the screen, we will subtract 64 from x and 64 from y to keep it centered even as the player moves around. Try moving the player around and consider what is happening as you move to the right for example, and the player’s x increases.
function _draw()
	cls()
	map()
	camera(p.x-64,p.y-64)
	spr(1,p.x,p.y)
end
Even though as you press right the player’s x increases, we are subtracting 64 so the player is centered.
Try changing the camera() function line to see what happens with a fixed location for example:
camera(64,64)
Tile flags
In the past, we moved the player character whenever we held down an arrow key.
function move_player()
	if btn(⬆️) then p.y-=1 end
	if btn(⬇️) then p.y+=1 end
	if btn(➡️) then p.x+=1 end
	if btn(⬅️) then p.x-=1 end
end
On the sprite sheet, you’ll see 8 radio buttons that can be toggled on and off. These are called “flags” and function as a kind of boolean.
We will toggle on the first flag next to the dungeon wall tag. Select your wall tile and click the radio button on the left so it turns red.
Let’s first make an in-between step. We will make temporary values that will hold what should be the new player x and y positions if the player presses the button. Then we’ll test to see if a wall tile is in that location, by checking to see if the tile at that position has its first flag on. If the wall is there, we do nothing. If no flag, then we change the player’s x and y to the temporary x and y we set earlier.
The concept should look something like this:
--create a newx, newy at the player's position
newx=p.x
newy=p.y
--set the newx or new y to the possible position the player will move into if there is no block there
if btn(R) then newx=p.x+1 end --for example
if btn(L) then newx=p.x-1 end
if btn(U) then newy=p.y-1 end
if btn(D) then newy=p.y+1 end
Next we need to check if a wall is at that position
if can_move(newx,newy) then
  p.x=newx
  p.y=newy
else
  --player is blocked, can't move
end
Our can_move() function
function can_move(x,y)
  local w=7
  local h=7

  if solid(x,y) or solid(x+w,y) or solid(x,y+h) or solid(x+w,y+h) then
    return false
  else
    return true
  end
end
We use an offset 7 because we are on a grid. We will have to round down.
--adapted from mboffin pixel collision
function solid(x,y)
 local map_x=flr(x/8)
 local map_y=flr(y/8)
 local map_sprite=mget(map_x,map_y)
 local flag=fget(map_sprite)

 --tests whether the flag is 1, returns true or false
 return flag==1
end
Debugging Strategies
When we are having trouble with our code, it helps to print out our variables, and/or trigger a sound effect. But what if we want to understand how multiple objects are interacting, for example?
In those cases, I tend to make an overlay with debugging information:
function _draw()
  for i=1,#enemies do
    spr(1,enemies[i].x,enemies[i].y)
    --draw each enemy's speed for example, to the right
    print(enemies[i].speed,enemies[i].x+8,enemies[i].y)
  end
end
Other times, I may make a place on the screen displaying my variables as I debug:
function _draw()
  debug()
end

function debug()
  rectfill(100,0,128,20)

  print("x: "..p.x.." y: "..p.y,100,0)
  print("speed: "..p.speed.." score: "..p.score,100,10)
end
Asking for help
Now maybe you have tried the above method of debugging by printing out your variables, and you still can’t fix it and can’t figure out why it won’t work, and you feel like you need help. Well then lucky for you there are plenty of people on the internet that are happy to help you, in addition to your professor and Learning Assistant. Other places to ask your question are on forums or discords for example. But asking a question is not simply asking “Hey guys I got this bug where this happens, what do I do?”. You need to provide them information that they can use to help you. For example:
- What exactly goes wrong and what do you expect/want to happen?
- Explain what you have tried to do so far to fix it.
- Show the code of where (you think) it goes wrong.
- Share the game file so that other people can try it out themselves.
But before you ask for help you may want to search for your question. It just might be that it’s a common question and it has been answered multiple times.
And remember, no one is obligated to help you, and the ones that do all do it for free, so be kind :)
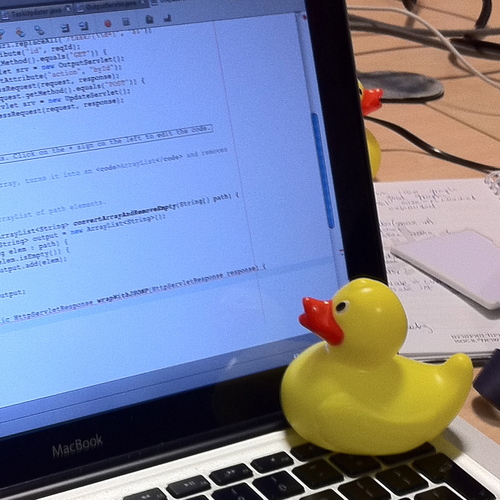
Rubber duck debugging
You could also get a rubber duck. There’s this thing called rubber duck debugging. The idea is that when you explain what you’re doing in your code, you often realize what you’re doing wrong and fix the bug yourself. So instead of explaining it to someone, you explain it to your rubber duck.

Summary
We can use print to find the source of our bug. Error message tell us exactly what is going wrong. Syntax errors are errors that occur because it can’t “read” the code correctly. Indentation is useful because it prevents us from getting end of line-errors. We can ask for help on the internet but we should provide enough information on what is going on to make it less difficult on the people helping us.
Code homework
Play robotfindskitten. It is available for several dozen different operating systems, game consoles, handhelds, emulators, playable online. I recommend this first link to play it in a DOS emulator online.
robotfindskitten (rfk) is a “Zen simulation”, originally written by Leonard Richardson for MS-DOS. It is a free video game with an ASCII interface in which the user (playing the eponymous robot and represented by a number sign “#”) must find kitten (represented by a random character) on a field of other random characters. Walking up to items allows robot to identify them as either kitten, or any of a variety of “Non-kitten Items” (NKIs) with whimsical, strange or simply random text descriptions. It is not possible to lose (though there is a patch that adds a 1 in 10 probability of the NKI killing robot). Simon Carless has characterized robotfindskitten as “less a game and more a way of life … It’s fun to wander around until you find a kitten, at which point you feel happy and can start again”.
robotfindskitten website.
Your assignment:
- Create your own clone of robotfindskitten. Change the characters, objects, text, theme, sprites, background, map, etc. Make your own version of a game where a player character wanders around, finding items as they explore that they read about.
- Add a background soundtrack and/or sound effects
- OPTIONAL: Use randomization so that each time you play the objects are placed randomly around the screen.
Possible Strategies:
- Start by brainstorming your scene: Who is the character? Where are they? What is the scene? What are they finding? What is the final goal they are trying to find?
- You can have everything on a single screen, or have a big map and use the camera function to follow the player.
- You may want to use map and create sprites for all objects. Each sprite may need its own flag so that when you detect that particular flag you can bring up text and the sound effect for that flag.
- OR you may want to use abstract sprites and have text randomly selected when you create the level that goes with each sprite (see my game QuiltFolk for an example of that)
Credits
- Copyright (c) 2022 Sheepolution
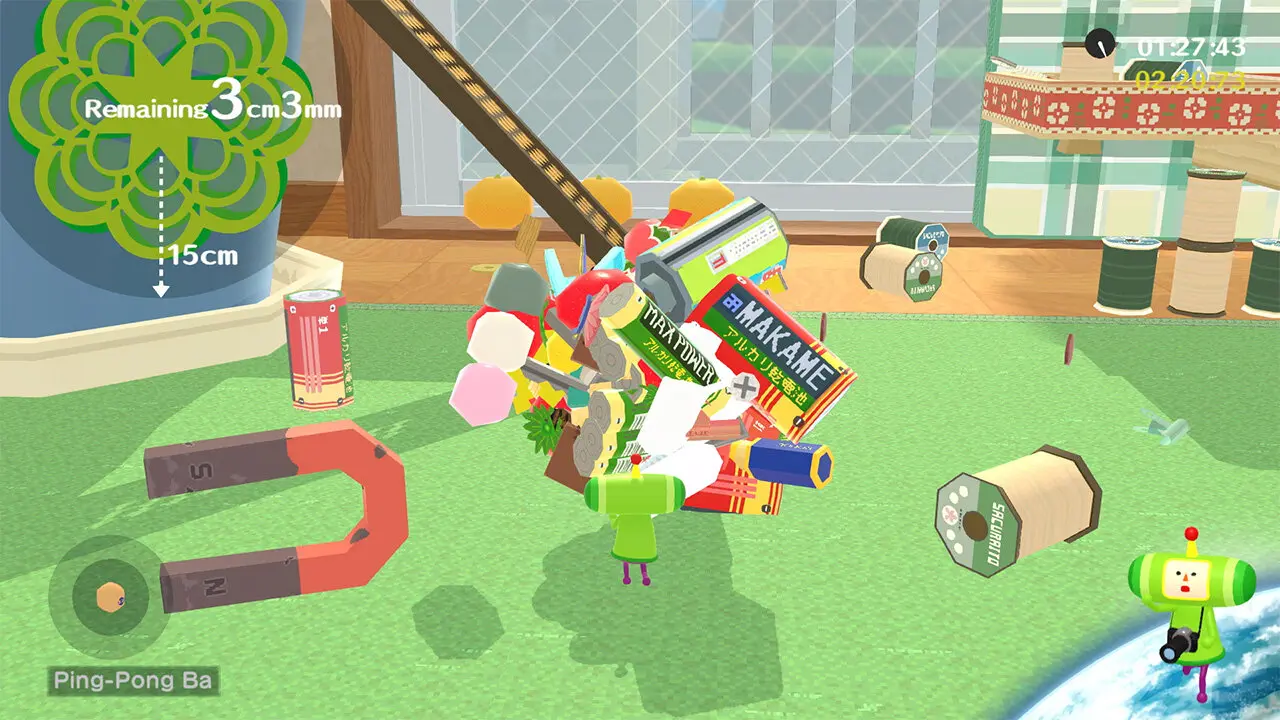
- Katamari Damacy screenshot, Nintendo
- Collision solid() function adapted from Mboffin
- Sokpop collective screenshot
- rubber duck by Tom Morris CC BY-SA

