Class 4 - Objects, Collisions, Pong
Play homework
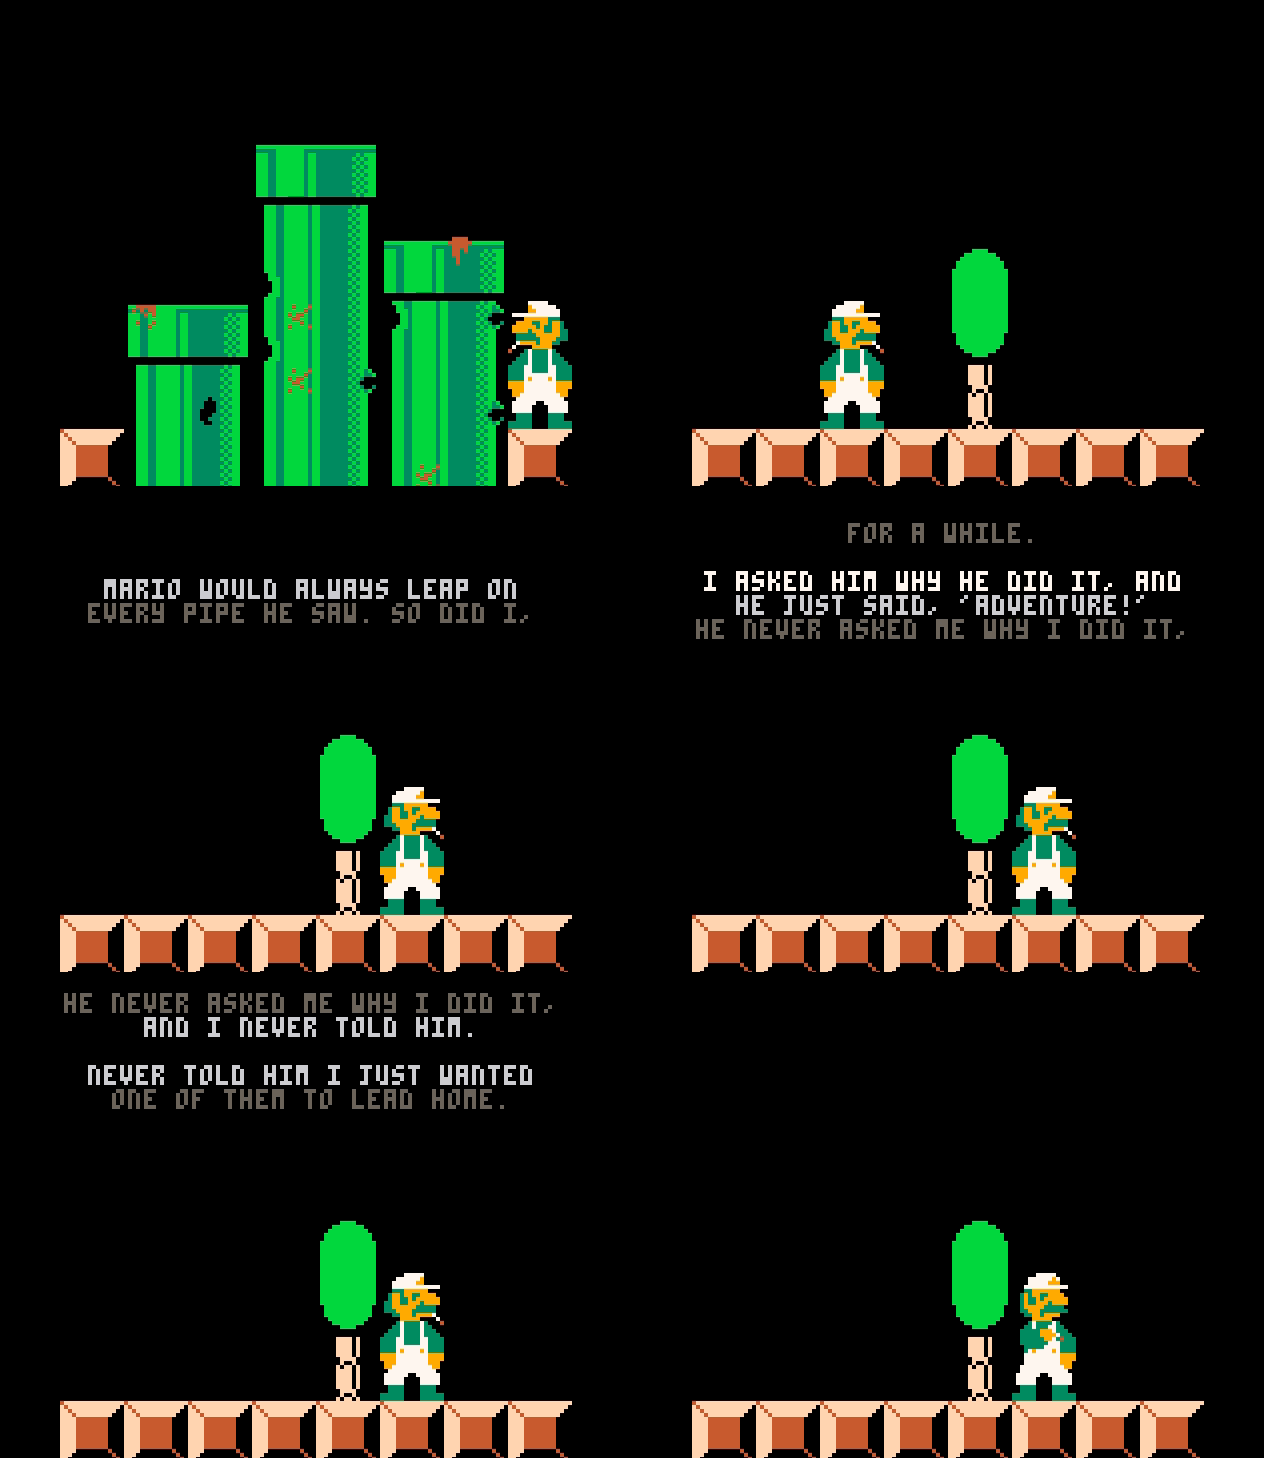
- Ennuigi by Josh Millard
Topics
- Warm-up: Mini-game
- Objects
- Collisions
- Pong iteratively developed
Description
This week is all about Pong! Programming this game will challenge us to use all of our new skills. We need to create a ball, have it bounce around the screen, and take player input to move controllers. We’ll build the game one step at a time, in an iterative fashion.
Class Notes
Warm-up activity: Minigame
This is a partner activity.
A minigame (or “mini-game”) is a short game inside of another game! We can think of it as one of many smaller games that together make up a complete game, sometimes with an overarching narrative. Generally, each minigame has its own gameplay mechanics, and are quite minimal compared to a videogame consisting of a single game design.
Can you think of examples?
- Wario World
- Mario Party
- Buzzard
- any others?
For this week’s warmup activity, we will try to make a simplified version of this minigame as seen in The Simpsons arcade game, a minigame between the levels.
Goal:
- Create a minigame where the player presses the X button repeatedly to enlarge the head of the character on screen.
Procedure:
- Add a character’s body to the scene. Draw their body as a single sprite or a series of sprites. Use a large sprite.
- Draw a head above the body, created with a shape like
circorcircfillfor example. - When the player presses X repeatedly, make the head get larger and larger.
- Don’t forget to add
cls()behind the drawing.
Spoilers:
- Create a variable for the headsize.
- Check for the player pressing the button X in update. If the button is pressed, increase the headsize variable.
Bonus/Optional
- Make it into an actual game with a winner and loser by adding a second player. Each player controls a different player’s head.
- Add details to the body and head (eyeballs, hair or hat, mouth, nose, etc)
Tables - building objects
In our last class we covered a simple use of tables to create arrays.
--numerical arrays
lucky_numbers = {3,7,11,24}
ages_of_my_parents = {72,68}

--string arrays
outkast = {"Big Boi","Andre3000"}
runDMC = {"Run","DMC","Jam Master Jay"}
migos = {"Takeoff", "Offset", "Quavo"}
To find out the first rapper in Outkast: outkast[1]
To find out the last rapper in Migos: migos[#migos]
Using tables to make “objects”
In our previous use of tables, we stored a number of variables or strings, each associated with a number. Each element after a previous was numbered one higher. The 1 element of outkast is Big Boi. The 2 element of outkast is Andre3000.
We can use words instead of numbers. And those words can be meaningful.
We create a table, then assign key-value pairs. When we type the name of the table and a key, we get back the value assigned to that key.
This is an example of creating an object.
my_info = {}
my_info.name = "Lee" --adds the key "name" with the value "Lee"
my_info.age = 42 --adds the key "age" with the value 42
my_info.has_pets = false --adds the key has_pets with the value false
Alternatively, we can create and assign elements all at once:
my_info = {
  name="Lee", age = 42, has_pets=false
}
To get the data from an object, type the table name and its key.
We get information out of an object in either of two ways:
my_info["name"] --"Lee" --option 1
my_info.name    --"Lee" --option 2
I think the second one is slightly easier to type and it’s what I tend to use.
Detecting collision
Let’s say we’re making a game where you can shoot down monsters. A monster should die when it is hit by a bullet. So what we need to check is: Is the monster colliding with a bullet?
We’re going to create a collision check function. We will be checking collision between rectangles. This is called AABB collision. So we need to know, when do two rectangles collide?
I created an image with three examples:

It’s time to turn on that programmer brain if you haven’t already. What is going on in the third example that isn’t happening in the first and second example?
“They are colliding”
Yes, but you have to be more specific. We need information that the computer can use.
Take a look at the positions of the rectangles. In the first example, Red is not colliding with Blue, because Red is too far to the left. If Red was a bit further to the right, they would touch. How far exactly? Well, if Red’s right side is further to the right than Blue’s left side. This is something that is true for example 3.
But it’s also true for example 2. We need more conditions to be sure there is collision. So example 2 shows we can’t go too far to the right. How far exactly can we go? How much would Red have to move to the left for there to be collision? When Red’s left side is further to the left than Blue’s right side.
So we have two conditions, is that enough to ensure there is collision?
Well no, look at the following image:
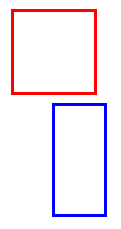
This situation agrees with our conditions. Red’s right side is further to the right than Blue’s left side. And Red’s left side is further to the left than Blue’s right side. Yet, there is no collision. That’s because Red is too high. It needs to move down. How far? Till Red’s bottom side is further to the bottom than Blue’s top side.
But if we move it too far down, there won’t be collision anymore. How far can Red move down, and still collide with Blue? As long as Red’s top side is further to the top than Blue’s bottom side.
Now we got four conditions. Are all four conditions true for these three examples?
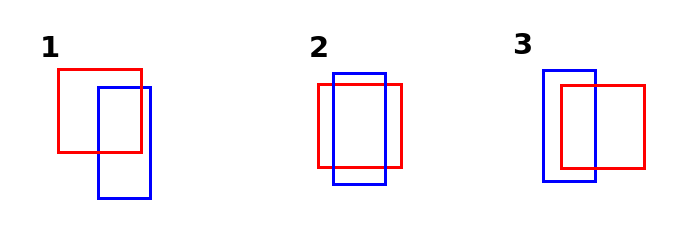
Red’s right side is further to the right than Blue’s left side.
Red’s left side is further to the left than Blue’s right side.
Red’s bottom side is further to the bottom than Blue’s top side.
Red’s top side is further to the top than Blue’s bottom side.
Yes, they are! Now we need to turn this information into a function.
First let’s create two rectangles. We’ll need a x,y location, a width, and a height for each of them.
Remember that a rectangle’s syntax is: rect(x1,y1,x2,y2). You draw a rectangle by specifying its top left and bottom right point. For more info: help rect.
function _init()
	--create 2 rectangles
	r1 = {
		x = 10,
		y = 30,
		width = 20,
		height = 20
	}

	r2 = {
		x = 100,
		y = 80,
		width = 15,
		height = 12
	}
end


function _update()
	--make one rectangle move
	r1.x = r1.x + 1
end


function _draw()
 cls()
	rect(r1.x, r1.y, r1.x+r1.width, r1.y+r1.height)
	rect(r2.x, r2.y, r2.x+r2.width, r2.y+r2.height)
end
Ok, we have a rectangle moving. That’s great. But how can we tell if it’s overlapping the other rectangle?
Building pong
Game scope
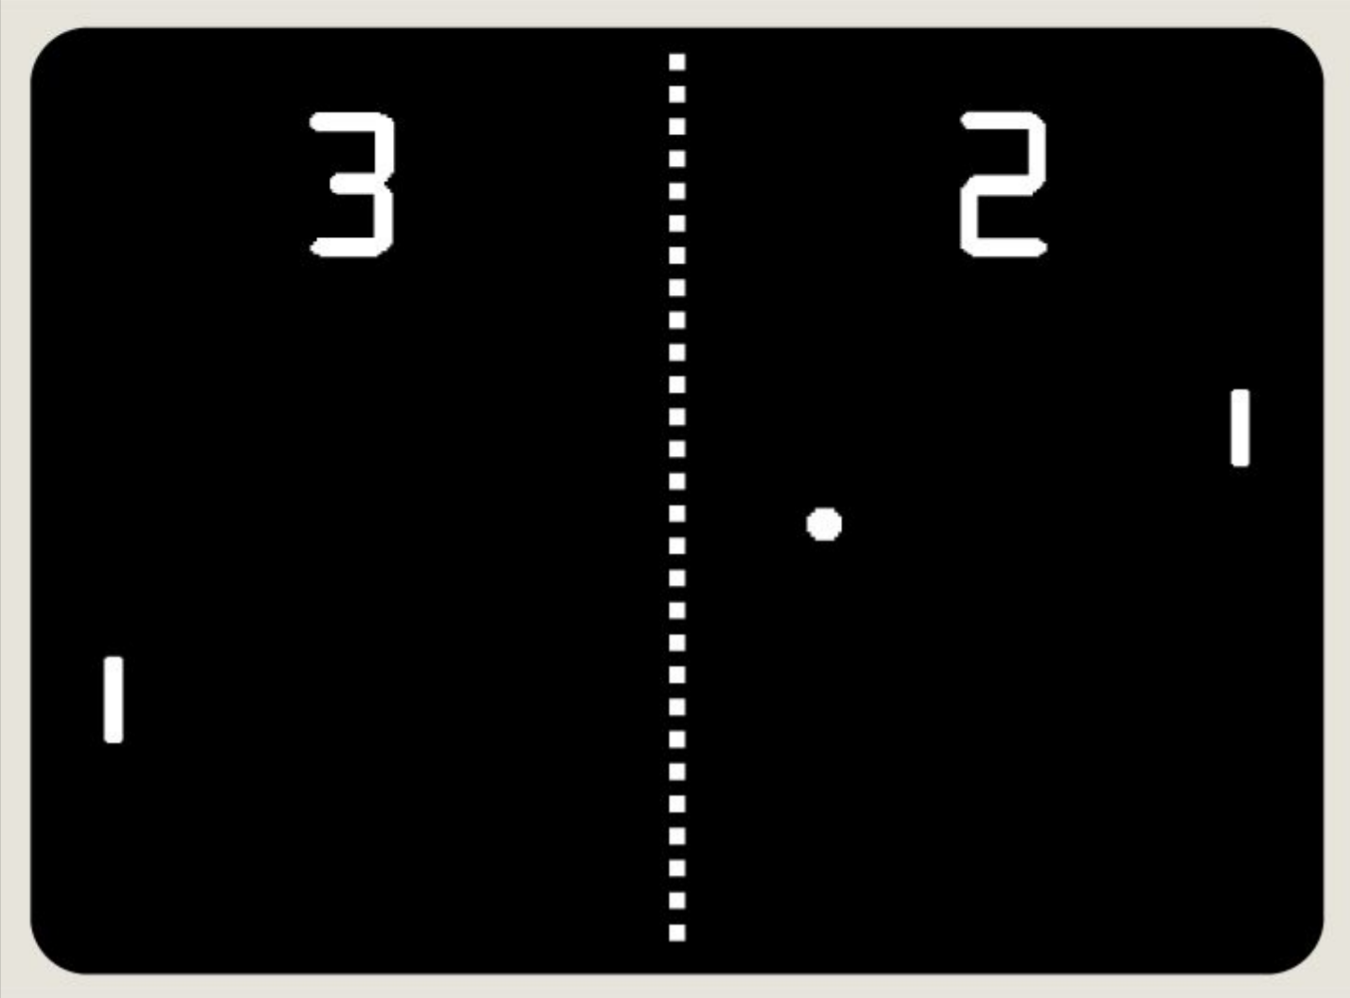
- We are aiming to recreate “Pong,” a simple 2 player game in which one player has a paddle on the left side of the screen, the other player has a paddle on the right side of the screen, and the first player to score 10 times on their opponent wins. A player scores by getting the ball past the opponent’s paddle and into their “goal” (i.e., the edge of the screen).
Project Procedure
- First off, we’ll want to draw shapes to the screen (e.g., paddles and ball) so that the user can see the game.
- Next, we’ll want to control the 2D position of the paddles based on input, and implement collision detection between the paddles and ball so that each player can deflect the ball back toward their opponent.
- We’ll also need to implement collision detection between the ball and screen boundaries to keep the ball within the vertical bounds of the screen and to detect scoring events (outside horizontal bounds)
- At that point, we’ll want to add sound effects for when the ball hits paddles and walls, and for when a point is scored.
- Lastly, we’ll display the score on the screen so that the players don’t have to remember it during the game.
Important Functions
_init()- This function is used for initializing our game state at the very beginning of program execution. Whatever code we put here will be executed once at the very beginning of the program.
_update()- This function is called by Pico-8 at each frame of program execution;
_draw()- This function is also called at each frame by Pico-8. It is called after the update step completes so that we can draw things to the screen once they’ve changed.
Important code
- Add paddles to the screen. One on the left side. One on the right side.
- Add button detection. Up and Down for left player. Up and down for the right player.
- Add the ball to the screen. It should start in the center, and should have a random xspeed and yspeed assigned at game start. Remember the ball could randomly go to the left or right when it starts (how?).
- Have the ball bounce around the screen.
- If the ball is inside either player paddle, you should also have it bounce.
- Add a score variable for each player. Display the scores at the top of the screen.
- If a ball hits the left wall, increase player2’s score. If the ball hits the right wall, increase player1’s score.
-
The game ends IF either player’s score is 10.
- OPTIONAL: Add in a key detection so the game starts only after a player has pressed a O or X key.
- OPTIONAL: When the game ends, pressing a key restarts the game.
Coming soon: platformers and adventure games
Code homework
For homework, you will begin working on your own custom version of Pong. You will turn in 2 games: your version of a basic pong game, and your pong variant.
- Review our notes from class on tables
- Review our notes on collisions
- Implement a bouncing ball that bounces off the sides of your screen
- Add in players and button presses for both players.
- Design a basic version of Pong for 2 players. Add in a score, a way to win and lose.
- After playing Pongs and reading Pippin Barr’s chapter, design your own Pong variation, and implement it in code. Make sure to save this under a second name so you have your original pong and your new pong both saved. Describe your variation in a sentence that you put as a comment note at the top of your program. Upload your pong variant.
Credits
- Ennuigi by Josh Millard, 2015
- Copyright (c) 2022 Sheepolution
- Pong 0: MIT Open Courseware Colton Ogden & David J. Malan 2018
- Pong cabinet photo by Chris Rand
- pong74ls test, CC BY 3.0
