Class 1 - Hello World of Games
Play homework
- Colossal Cave Adventure (1996 DOS version on Internet Archive)
Topics
- REPL
- Strings
- Variables
- Functions
- Comments
- Graphics
- Input
- Finding Help
Description
This course teaches programming from the ground up in the context of Lua and LÖVE. It teaches basic computer science and software building skills along the way, but more importantly, teaches you how to teach yourself and find out how to go about solving a problem or building a solution. Tools come and go, so the goal is to teach things of value with less focus on the programming language and other tools used to build the software.
This first session will help ground the course and get you situated into the learning environment and get your feet wet while writing your first code.
The goal of this week is to teach the most necessary building blocks of programming. By the end you will be be able to build basic programs which we will apply with exercises in the following weeks.
Class notes
Our programming playground
We will be using Pico-8 to get started.
We will start with the free online Pico-8 Education Edition.
Important: the free online Education Edition does not save your code in the browser. You must export your program and save to the desktop. You can drag your program back in to load a program.
What is Lua?
Lua was created in 1993 in Brazil by Roberto Ierusalimschy, Luiz Henrique de Figueiredo and Waldemar Celes, members of the Computer Graphics Technology Group (Tecgraf) at the Pontifical Catholic University of Rio de Janeiro, in Brazil. It is a flexible language, small, considered easy to learn and write. It is often used to extend other programs and languages because it is tiny, and easy to extend. In the past 2 decades it has grown to be one of the main languages used to program games, particularly 2d game engines.
What is Pico-8?
PICO-8 is a fantasy console for making, sharing and playing tiny games and other computer programs. When you turn it on, the machine greets you with a shell for typing in Lua commands and provides simple built-in tools for creating your own cartridges.
It is created by Lexaloffle games, and is intended to act like a fantasy (fake, classic, retro) home games console. Of particular note, Pico-8 has “productive” constraints, that help to keep the scope of your video game small and personal. It has a limited palette, length of programs, size of the screen, font, and a complete development environment, with code editor, sound editor, sprite editor, map editor and music sequencer - all built into a single program.
There is also a built-in way to share and find games that other people with Pico-8 make. Pico-8 was initially created in 2015 and has been continually developed since.
One nice feature of Pico-8 is that games can also be distributed and shared to play online, even by people who do not own Pico-8.
Interactive coding
What’s a REPL?
Programming doesn’t take much effort beyond loading up a REPL and just typing. What is a REPL? It’s an interactive window you can type code into and it spits out the results on screen when you hit enter. It stands for Read-Evaluate-Print-Loop. These are the 4 things the REPL does:
- Read the code that was just typed
- Evaluate, or process the code down into a result
- Print, or spit out the result
- Loop… do everything again and again until the programmer is done
It’s actually simpler than it sounds. Let’s go to the Pico-8 education website and try it out: https://www.pico-8-edu.com/
It starts up with a REPL.
Let’s try typing some code for the REPL to Read.
Type:
print(2 + 2)
Then hit ENTER and immediately the REPL will Print out: 2
We are issuing the command “print”, which takes the following input inside the parenthesis. It processes that input, gets the result, then prints it out.
=> 4
After hitting ENTER, the REPL, Read the line 2 + 2, it Evaluated the value of that statement to be 4, it Printed 4 on the screen for you, then Looped back to a new line to await your next command.
Try out some more arithmetic.
Multiplication:
print(2 * 3)
Subtraction:
print(2 + 2 - 4)
Division:
print(6 / 2)
You can use parenthesis to tell it which order to do the operations:
print((2 + 2) * (3 + 1))
Which gives different results than:
print(2 + 2 * 3 + 1)
You can also do exponents using the ^ (caret) symbol:
print(2^4)
Numbers are a type of data, and +, -, /, *, ^, % are operators.
Statements such as 2 - 2 and 23 * 19 are all operations.
One last arithmetic operation we’ll cover is modulo, which is done with the modulus operator.
The modulus operator is represented in most languages as a % (percent) symbol:
print(8 % 3)
Modulus operations are quite common in software and computer sciences.
The way it works is you take the 2nd number and subtract it from the bigger number as many times as possible until the 2nd number is bigger than the 1st.
The result is what’s left of the 1st number.
With 8 % 3, if you keep subtracting 3 from 8 then you end up with 2 left.
A real world example is time elapsing on an analog clock. Imagine the face of a clock with the hour hand on noon. If 25 hours pass then the hour hand goes all the way around twice and ends on 1. That would be equivalent to writing:
25 % 12
=> 1
The hour hand resets every time it passes 12, so 13 % 12, 25 % 12, and 37 % 12 would all equal 1.
Likewise, 10 % 4 results in 2 because 4 goes into 10 twice, and leaves a remainder of 2.
Exercises
- Try typing different modulo operations in and guessing what the answer will be.
- Try using negative numbers (
-3 + -2). - Try using a set of parenthesis inside another set of parenthesis. Does it behave as you expect?
- After running through exercises press the ‘up’ key in the REPL. What happens and how can this speed up your work?
Strings
Numbers are one type of data that can be operated on. Let’s explore another data type within the REPL. Take a set of quotes and put some text in it and print it:
print("hello")
The REPL will print hello back to you.
This is a string.
A string is a set of characters (letters and symbols) stringed together as one single piece of data.
This string is made of 9 characters:
print("H-E-L-L-O")
Like numbers, there are operators to make strings play with each other.
The concatenate operator (..) combines strings together:
print("hello" .. "world")
What’s the result? Notice that the resulting string has no space between the two words. If you wanted a space, you would have to put one in the quotes to be part of the operation:
print("hello " .. "world")
You could even make a separate string with the space in it:
print("hello" .. " " .. "world")
Strings can have any characters in them that you want.
print("abc" .. "123")
"Япо́нский" .. "ロシア語!!"
Exercises
- Try using an arithmetic operator on strings
"hello" / "world". What happens? - Try using the concatenate operator (
..) on numbers (1 .. 1).
Nil and variables
Data, or the lack thereof
Humans have different ways of representing a lack of data.
If there are no sheep to count then we have zero sheep.
If there are no words on a page then the page is blank.
In a computer we may represent the number of sheep as 0 or the missing words on a page as an empty "".
These are still data though… a number and a string.
In software when you want to represent a lack of data we have:
nil
Sometimes called null or undefined data in other languages.
It’s seemingly useless.
You can’t use operators on nil.
print(nil + nil)
This will print an error like it did when you tried doing arithmetic on strings.
Let’s take a look at variables and we’ll discover the purpose of nil.
Variables
Sometimes you want to write out data, but you want that data to be easy to change. Variables let you give data a name to reference. Here’s an example to try:
name = "Mandy"
print("hello my name is " .. name)
Since you told it what name is, it knows what value to add to the string "hello my name is ".
If you type:
print(name)
…and hit ENTER, it will print out the value that belongs to this variable to remind you.
The = (equal) sign tells Lua that you want to assign a value to the given name/variable.
You can change the value of a variable and get different results:
name = "Jeff"
print("hello my name is " .. name)
Assignment isn’t the same as it is in Algebra.
You can change the value of a variable multiple times.
We can tell name that it equals itself with some additional information concatenated to it:
name = "abc"
name = name .. "def"
print(name)
You can assign any type of data to a variable, including numbers:
name = "Jeff"
age = 16
print("hello my name is " .. name .. " and I am " .. age .. ".")
You can change numbers after assignment too:
age = 16
age = age * 2
print("my age doubled is " .. age)
So, what if you type in a made up variable name?
print(noname)
You will see it has nil, or no data yet.
If you try to use nil in your string operation you will get an error:
print("hello my name is " .. nil)
Attempt to perform arithmetic on a nil value
print("hello my name is " .. noname)
Attempt to concatenate a nil value
Try assigning a value to a variable name:
best_color = "purple"
then assigning that variable data to another:
worst_color = best_color
print(worst_color)
You’ll see that both variables now have the value "purple".
Variables can have names made up of letters, numbers and underscores (_).
Variable names cannot begin with a number though, otherwise it will think you’re trying to type in number data.
Here’s some examples of valid variables:
my_dog = "Poe"
myDog = "Zia"
DOG3 = "Ember"
Exercises
- Try out different variable names. Try a few invalid variables names too just to see what the error message looks like. It’s important to see error messages and understand them. They help you understand how a program breaks so you can fix it.
Let’s try a built-in function.
This function has two parameters, meaning it accepts two pieces of data which it requires to work properly.
print(max(7, 10))
When giving more than one piece of data to a function, you need to put a comma (,) between the parameters
These are great functions, but wouldn’t it be great if we could make our own?
We’ll give it a shot next week.
Exercises
- See if you can figure out what
maxdoes. Give it different numbers and examine the result. - There is another function called
minthat also takes two numbers. What does it return?
Comments in code
Sometimes we might want to write a comment in our code– an explanation to a friend or our future selves on what the purpose of some code is.
Perhaps we want to write a note to ourselves to change something later.
Comments work very similarly in different languages so they’re pretty easy to read even if you don’t understand the programming language or the code itself.
Lua denotes a comment as -- and any text that follows it:
print(1 + 1)
-- This is a code comment
print(1 + 2)
-- This is another line of comments
print(3 + 4)
These comments will be completely ignored by the computer and are meant for the human to read. Comments can also be on the same line as code. The computer will just ignore the rest of the line when it sees a comment starting.
print(1 + 1) -- This is my comment. This code adds some numbers together in case you didn't know!
You will see comments appear in future example code, so don’t let it surprise you!
Scripting and printing
Looking back at the website, (you bookmarked it, right?) we have been using the REPL, but we haven’t talked about some of the other features of Pico-8, including the code editor. Press escape to get to the code editor. Instead of running the program with each line you type, it allows you to write multiple lines of code before executing it all. Let’s try typing something in it. Once you are done typing all the code you can run it. Press escape and type run.
number = 4
number = number + 1
print(number)
Alternatively, and much faster, you can run your code in the editor window when you press ‘Control + R’.
More Pico-8 details
What is a cart?
A cart is Pico-8’s name for a game (or program) file containing code, sprites, sound, map, etc. A single cart can be loaded and run. Each cart has its own name. They can be saved and then distributed online so that other people can run and play your game.
Drawing graphics on Screen
Pico-8 can draw “primitive” shapes, colors, lines, points. It can also draw sprites, which are individual graphical objects that can move around the screen.
To see all of the built-in graphics commands you can use, type help gfx in the REPL.
Examples:
help cls
This will explain that CLS clears the screen and resets the rectangle, and the default color (which they say col) is black.
background
cls()
There are 16 colors in the default palette. You can specify one of them by entering a number.
cls(8)
What happens when your number is higher than 16? Why?
Some other basic shapes:
line
rect
rectfill
oval
ovalfill
circ
circfill
Try reading about these with the help command (e.g. help rectfill to learn how to use them. Then try them out!
Remember, Pico-8’s screen is 128 pixels wide and 128 pixels high.
rectfill(0,0,64,30,2)
This would draw a rectangle from 0,0 (top left) to 64,30 (which means it is 64 pixels wide and 30 pixels high), in the color magenta (2). If you don’t specify the optional color at the end, it will use whatever previous color you assigned.
Make a sprite
Pico-8’s sprite editor is the place to draw graphics that will appear in the game. A sprite is an object like a character that will be individually drawn to the screen, once or multiple times. It may be a player, an apple, an item you pick up, a logo, or something else.
The sprite editor allows you to alter the size of your sprite. Notice the number next to the sprite. You need to know the number, as well as the width and height of your sprite, to draw it on the screen.
spr(1,20,20)
This will draw the sprite #1 at 20,20.
Using the reference
Press escape to get back to the REPL.
Type help spr to read about sprites.
It explains how to use the spr() and shows optional parameters inside square brackets. When adding these optional commands, you do NOT write the square brackets. This is just to indicate to you that they are optional things you can add.
So for example, we could optionally add a width and height, and even whether to flip the sprite along the horizontal or vertical x-axis.
Let’s specify the width of our sprite, and its height.
spr(1,20,20,8,8)
If your sprite was twice as big, we’d make the width and height larger.
spr(1,20,20,16,16)
Iterative design
As we code, we can think about our work inspired by sketching in a notebook where we continually work and rework. Pico-8 makes it easy to write code, test, and then continue to add more, update and refine our code as we go. This is known as an iterative process. It is a normal process of coding to start simple and and continually add to and refine your work, testing (by running your code) each step of the way.
The Reference
How do you know what commands are available in Pico-8?
One way is to use the reference. Head to the REPL (escape).
help
This will tell you all the commands you can get help on.
help cls
You can find out many commands to learn about by typing help and then a topic name.
Workshop: Studio Name
Every game studio needs a name and a logo. Select your studio name. Sketch out a logo in your notebook. Design a cart that displays your studio name and logo, using basic shapes and text. Make it memorable, classy, experimental or aggressive. This will set the tone for your games this semester. Most importantly, make the logo your own. We’ll review these in class and talk about them. Don’t forget we’ll be using Pico-8, so you may need to think in terms of the grid to make your (pixelated) artwork.
A basic program
--from Pico-8 Education > First Program
X = 60
FUNCTION _DRAW()
  CLS(1)
  SPR(1,X,60)
  IF (BTN(0)) X -= 2
  IF (BTN(1)) X += 2
END
What does this code do?
We create a variable X and set it to 60.
We create a function, a way to break down code into chunks, that are reusable. The _draw() function should contain all code that someone will see on the screen. Other code is allowed to go in here as well. This function ends with the word END.
CLS(1) will reset the background color to 1 (what color is that?). It does this by drawing over anything that was on the screen before.
SPR will draw sprite 1 to the location X,60.
The next two lines are examples of how to an IF conditinal in Pico-8. Note that this is using a shortcut one-liner. We will cover conditionals next week! The first IF is checking whether we have pressed the button LEFT and if so, subtracting 2 from our X position. If we press the button 1 (RIGHT), we are increasing our X by 2. Don’t worry if this is confusing right now. It will make sense soon.
Loading a cart
- Go to the REPL
- Type
ls(aka lowercase L and S) and hit enter to get a list of all of your carts. If there is a folder you want to move into, typecd <foldername>. (Remember, never type the < > brackets. They are just to indicate you need to replace with your own word.) - In Desktop Pico-8 to load a cart (file) so you can play and edit it, type
load <cartname>. In Online Pico-8 type and runloadand a dialog box will pop up to let you select the cart saved on your computer.
Saving your work
It is always important to save your work!
- In Desktop Pico-8 or Pico-8-EDUCATION online press escape to get to the REPL.
- Type
save <your-filename>to save it under a certain name. - In DESKTOP PICO-8 it will report back
SAVED <your-filename>.P8and add the .P8 suffix. If you only typesaveand you haven’t previously saved that cart before, then it will be assigned a generic name and report something likeSAVED UNTITLED_3.P8. - In EDUCATION ONLINE Pico-8 it will open a dialog box to have you save your cart on your own computer.
- In the future, you can just use the shortcut CONTROL-S to quickly save.
- To see all of your saved carts, run FOLDER in the REPL and it will show the hidden folder of your carts on your computer.
Shutting down Desktop Pico-8
Go to the REPL and type shutdown. Make sure you’ve saved your work first!
Ways to find help
- Pico-8 Wikia (lists all commands)
- Pico-8 BBS
- Pico-8 User Manual
- Pico-8 Zines and Tutorials
- Pico-8 Cheat Sheet of commands
Code homework
For homework this week you will play Pico-8 games, read the official website and Wiki, try out the Pico-8 engine, and do some coding.
Part 1: play
- Acquire Pico-8
- Load all demo games
- Navigate Splore and try out games
- Investigate their code
- Add at least 3 “favorite games” in the splore
- Make a copy of Jelpi and try editing the code and running it. Make some changes. Use the API to lookup commands. Save your code under another program name.
Part 2: code
Part 1
- Complete your “Games Company” logo screen and save it.
Part 2
- Create some sprites (a player, and some terrain)
- Draw them to the screen
- Move one of the sprites around (“the player”) when directional buttons (aka “d-pad”) are pressed
- Save your program
Credits
- Pico-8 by Lexaloffle
- Pico-8 Wiki CC BY-SA
- Description, Pico-8 Jelpi gif by Carlos Aguilar, 2016 CC BY 4.0
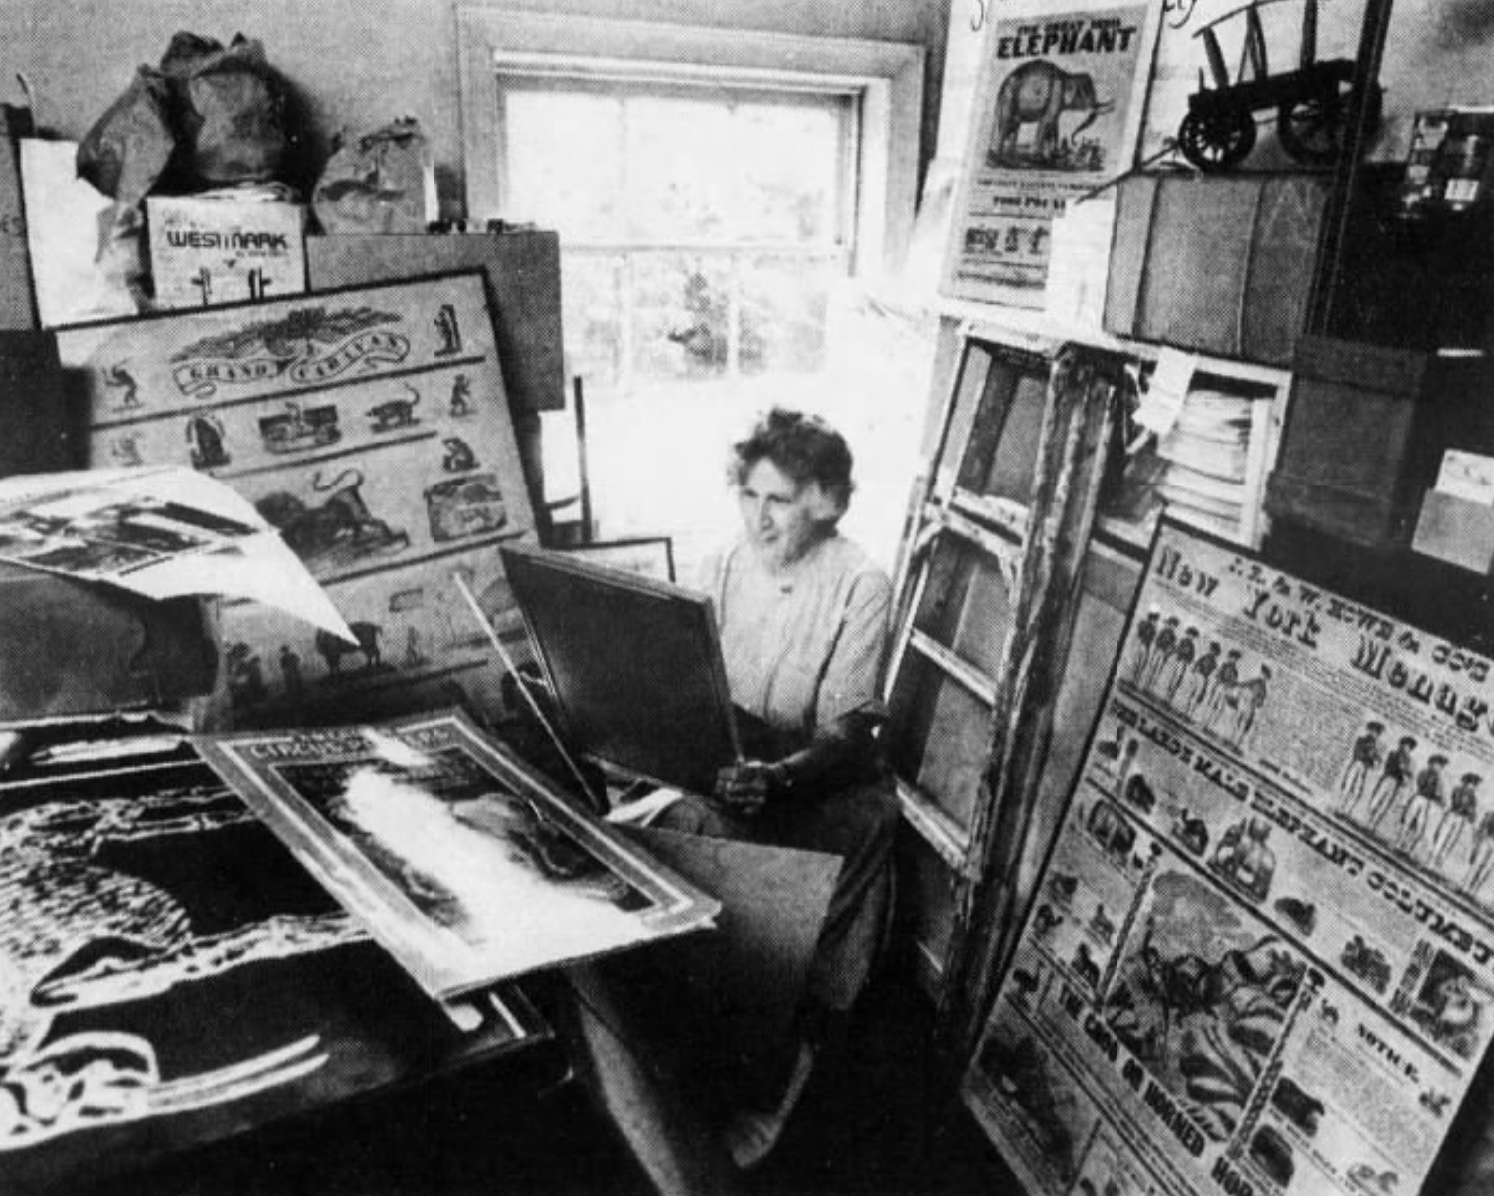
- Image of Mabel Addis from GDC.
- Learn2love Chapter 1 copyright © 2018 Jay Thomas